
Ceiling cloth dryer installation: practical checks before drilling
6 min read · 12 September 2026
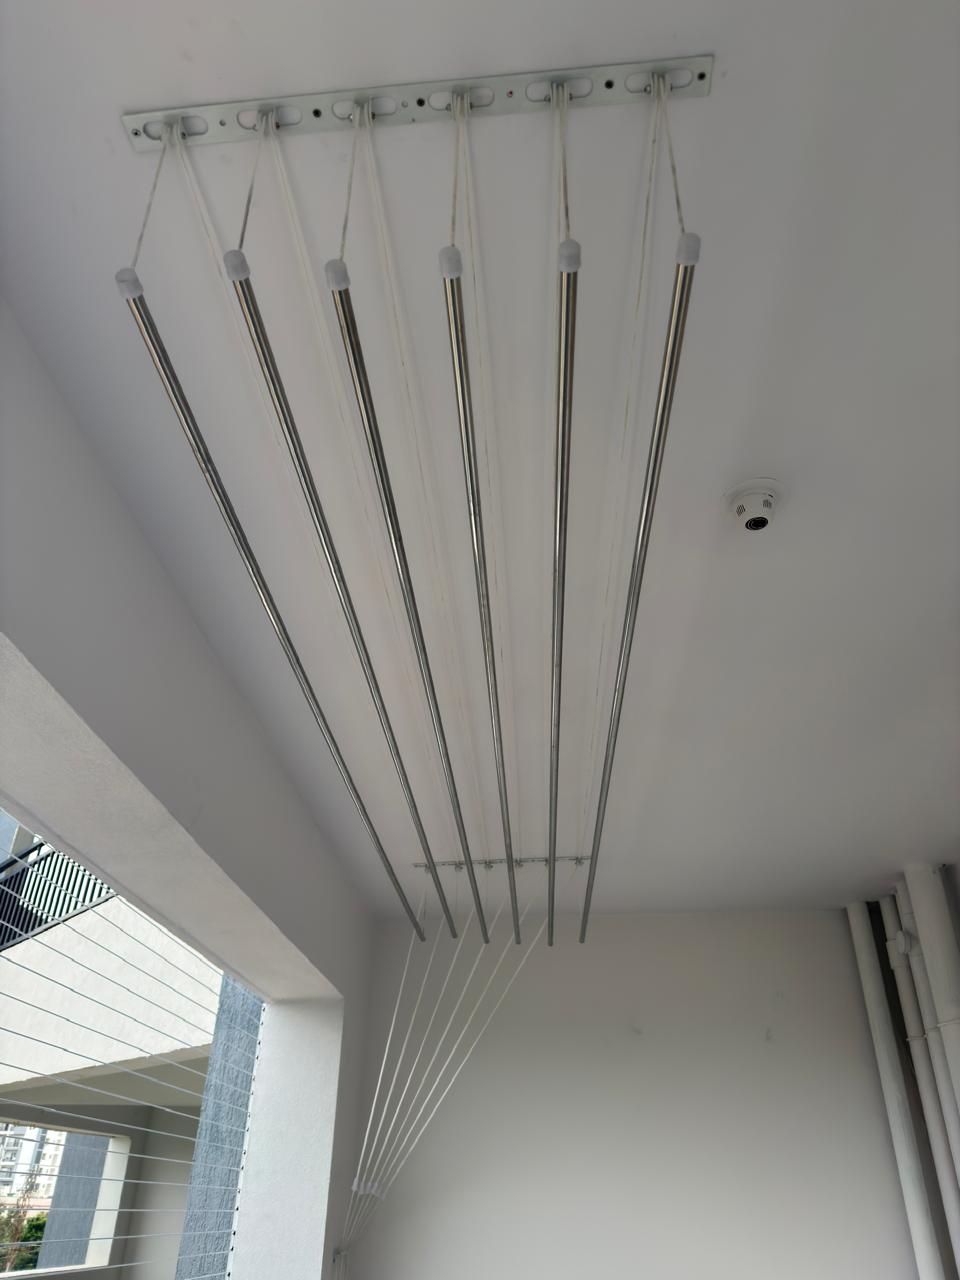
The ceiling, anchor line and pulley alignment decide whether a dryer moves smoothly and stays level under wet clothes.
Measure the usable balcony span
Measure between clear walls after allowing for windows, pipes and cupboards. YPL offers 4 ft, 5 ft, 6 ft, 7 ft and 8 ft rods, but the best length leaves working clearance at both ends.
- Photograph both fixing walls and the full ceiling
- Check that windows can open below the raised rods
- Keep the rope control within comfortable reach
Fix only into a sound ceiling
Anchors need a solid RCC slab or a suitable structural fixing point. A false ceiling, loose plaster or decorative panel is not a load-bearing surface. The installer should identify the slab before drilling and use fixings appropriate to that surface.
Align pulleys before loading
Pulley lines must run parallel so each rod rises evenly without rubbing against the next rope. After fitting, every rod should be lowered, loaded and raised separately before handover.
- Confirm equal rope travel on both ends
- Keep wet clothes spread across each rod
- Recheck knots and stops after the first loaded test
Choose the right rod count
Four rods suit lighter daily laundry, six rods are the common family choice, and eight rods add capacity for larger households. The installed range is ₹3,800–₹5,500 depending on size, rod count, steel grade and site conditions.
Common questions
How long does installation take?
A straightforward apartment balcony is commonly completed during one visit after the ceiling and measurements are checked.
Can it be fitted below a false ceiling?
Only when the installer can reach and anchor safely into the structural slab above; the decorative panel itself must not carry the load.